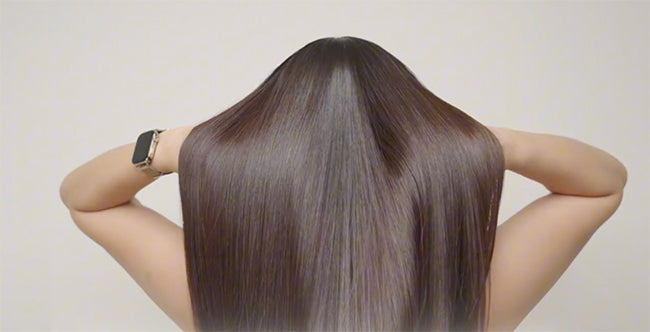
Step-by-Step Tutorial

Easy to Follow
We offer two smoothing treatment types based on your client’s preferences: SilkieSmooth and VitaSmooth.
The application process for all four pods is the same, but the processing time and flat iron temperature will vary depending on the hair’s thickness, color, and condition.
The treatment process is divided into two easy-to-follow parts:
- Part 1 with seven steps
- Part 2 with five steps
Part 1
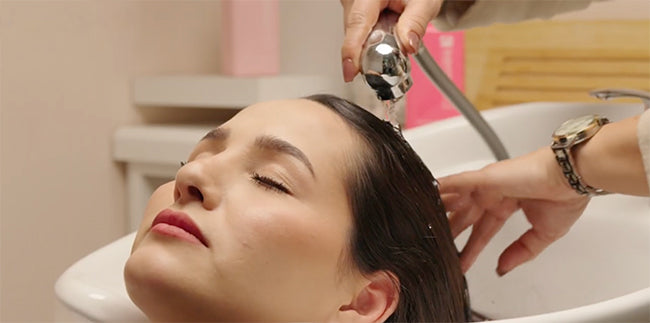
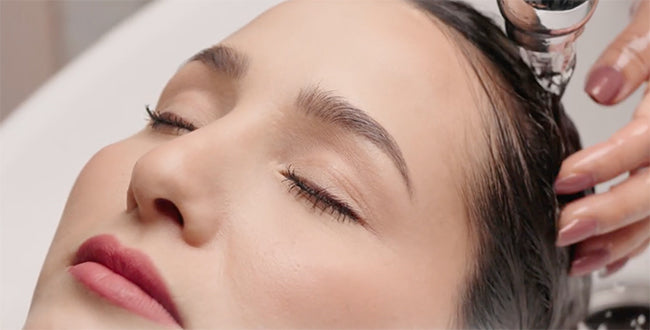
1.- SHAMPOO + Smooth Mask Option
It’s crucial to start the treatment with clean hair, removing any dirt, oil, or other hair products.
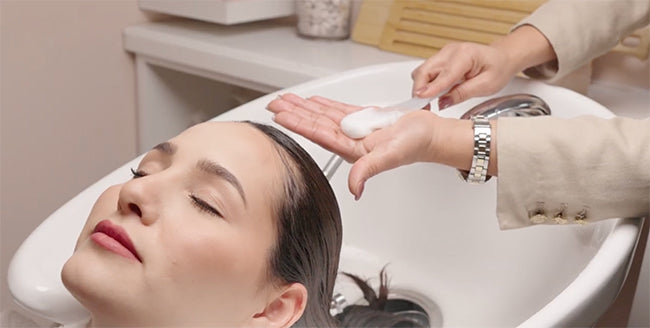
Use Smooth Shampoo thoroughly to wash the hair.
OPTION: If the client has extremely porous and damaged hair, shampoo and apply a Smooth
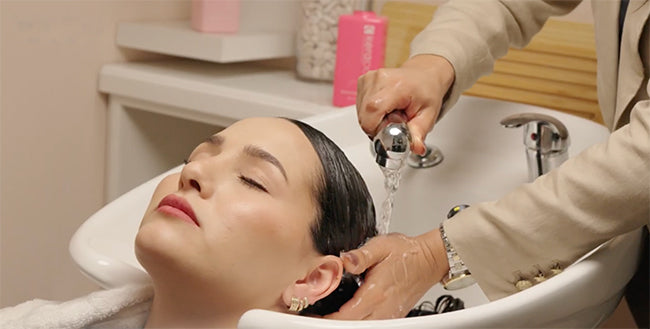
Mask. Thoroughly distribute the hair mask by massaging it into the hair. Wait for five minutes
before rinsing the product completely from the hair.
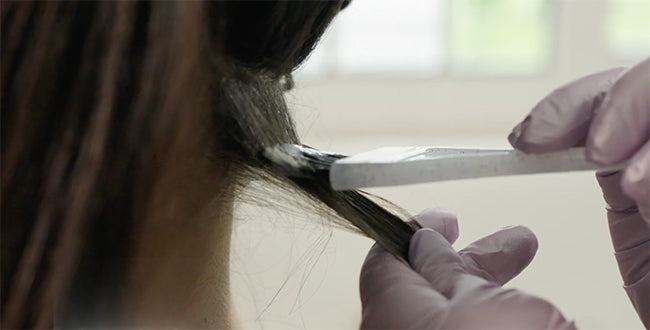
3.- TREATMENT APPLICATION
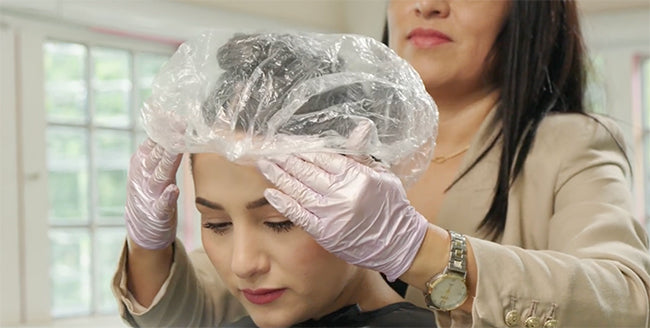
Before starting, wear a glove and section the hair into four parts.
Begin from the nape area, about a quarter inch away from the scalp, and apply thin, finger-length sections. Layer by layer, apply the smoothing treatments throughout the hair.
Apply a sufficient amount without overloading the product. Massage and comb through to evenly distribute it.
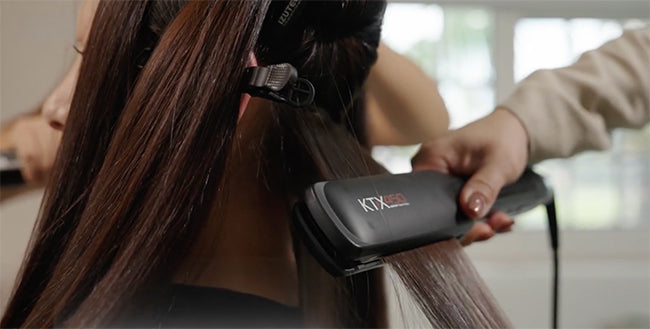
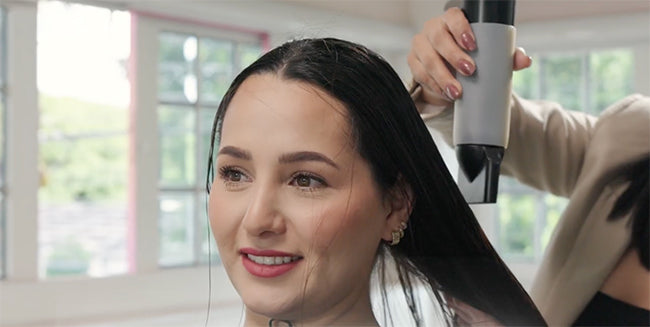
7.- FLAT IRON
Separate the hair into four sections.
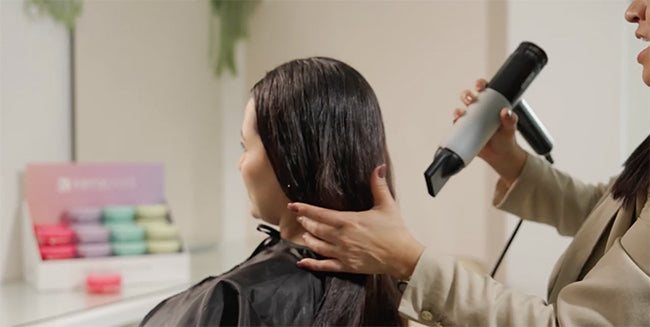
Starting from the nape area, begin flat ironing at the recommended temperature until you notice shine in the hair.
Flat Iron Heat Temperature Recommendations
- 350-370°F for thin and damaged hair
- 370-400°F for medium hair
- 400-450°F for thick, coarse hair
NOTE: Flat ironing is crucial for finalizing the shape and locking in the cuticles.
» Remember, not all flat irons are created equal. Using the right tool is crucial for achieving the best results. We highly recommend using IZUTECH professional flat irons for the most exceptional finish.
» To avoid unnecessary color lift from the heat, start with the lowest recommended temperature and gradually increase it as needed.


